


Sweet Summer Card Layout Ideas
- Jules

- Jul 11, 2025
- 3 min read

Happy Friday! I'm here with some sweet card layouts for your summer cards. All three cards feature the new July 2025 Whit Kit: Here's the Scoop and this kit is sprinkled with soooo many crafty goodies! So today I'm sharing three different layouts to inspire scoops and scoops of sweet summer cards. Let's get inky!
And stay 'til the end for a real treat! 🍦

Let's start with this a squared background. This is wonderful way to make use of scraps. Cut patterned paper into 1.25" squares. You'll need 12 pieces. I used three different patterns from the "Here's the Scoop" patterned paper pack.

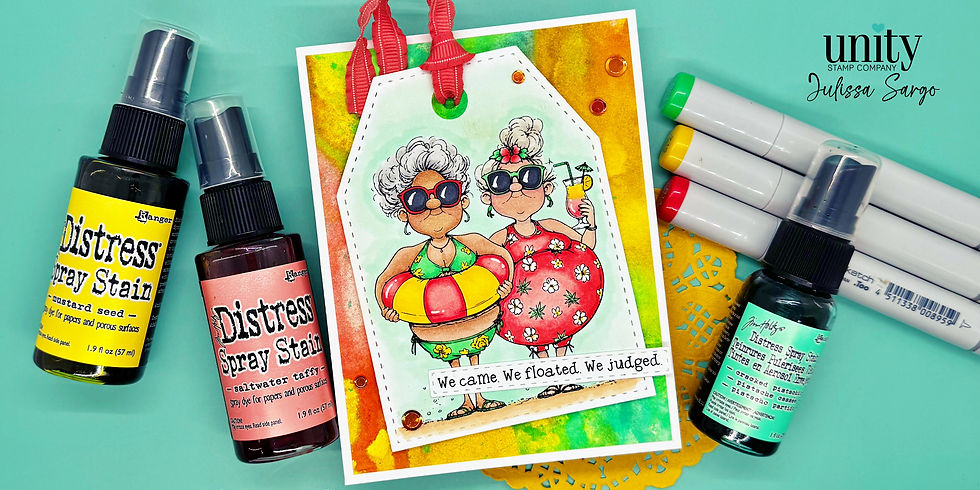
Once these are added onto a white card base with equal spacing, I die cut the small stitched tag using the Make-a-Tag die set. I added Mustard Seed, Fossilized Amber and Rusty Hinge Distress inks on the tag. Pairing pink twine, all of these fun colors keep coming together.

For the sweet stamps, this was soooo fun! This kit has a layering stencil you can use fro all four treats and some added elements like sprinkles, hearts and more. I used three pinks and one light brown to color all of the ice creams: Spun Sugar, Kitsch Flamingo, Picked Raspberry and Tea Dye Distress Inks. The stencils make coloring all of these images a freeze... I mean a breeze! 😂 A little foam tape and sequins, and this card is done!

Ready for another scoop? For this card layout, I started with the "Tab Fold" die set and die cut the two panels out of different patterns from the Here's the Scoop paper pad. Before putting these two together, I die cut a stitched heart from the Dashes and Frills Die set out of the larger panel of patterned paper. I also die cut a stitched circle from another patterned paper.
Sweet🍦Craft Tip: A great way to maximize your patterned paper is die cutting the part of paper that will be covered, but remember to be mindful of patterns if they go in a specific direction.

Now, for the sweet stuff. The ice cream images are so much easier to color when you use the layering stencil. I colored in this image with Spun Sugar, Kitsch Flamingo and Tea Dye Distress Ink. And then I fussy cut it out. Next, I die cut the "hello" from the Happy Hello Die set five times out of teal card stock. I then used embossing ink on the top of the "hello" and added the Glimmer Kiss Embossing Powder. This adds a fun white, glittery layer that looks like icing.

Now, just adhere everything. Use a little foam tape for some to add a little dimension. And how about some bling with iridescent sequins for a final touch. Let's make one more!

This was so fun! I started with cutting two edges of the diagonal striped paper and butting them up to each other to make an arrow design. I layered that on the yellow patterned paper and adhered to the card base.

Next, I die cut a stitched circle using a third patterned paper. I stamped, stenciled and fussy cut the ice cream. Then I used the the resin ice cream sprinkles to make this ice cream deliciously cute! I also die cut an old retired Unity "thanks" die a few times and stacked it for dimension. Last, I fussy cut a sentiment from the Adorable Summertime Ephemera and inked the edge with Picked Raspberry Distress ink.

Using some thin foam tape, I added all of these elements to create this colorful and sweet thank you card. I love those sprinkles, don't you? And they look so edible, so make sure to keep them away from the kiddos.

So here's the scoop! I subscribe to the monthly Whit Kit card kit, but this month, you can grab each of the items in this Whit Kit without commitment! If you want my thoughts, subscribe and add some extra sprinkles and another set of the ephemera for future use! But here is the list of supplies used to make all of these colorful cards.
Products used:
Ranger Embossing Dabber
Spun Sugar, Kitsch Flamingo, Picked Raspberry, Mustard Seed, Fossilized Amber, Rusty Hinge and Tea Dye distress Ink
Thank you for watching and I hope you've found inspiration.
Until next time... Happy Crafting!

Comments